The car itself came to me in a presentable condition but it seems that much of this was purely superficial so it was a perfect opportunity to dig in deep to give the car some much needed TLC.
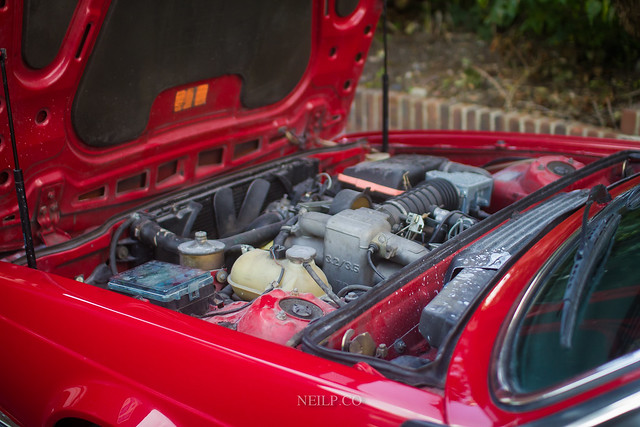
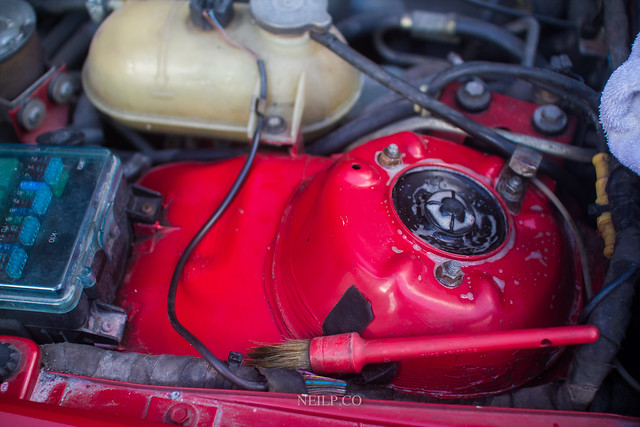
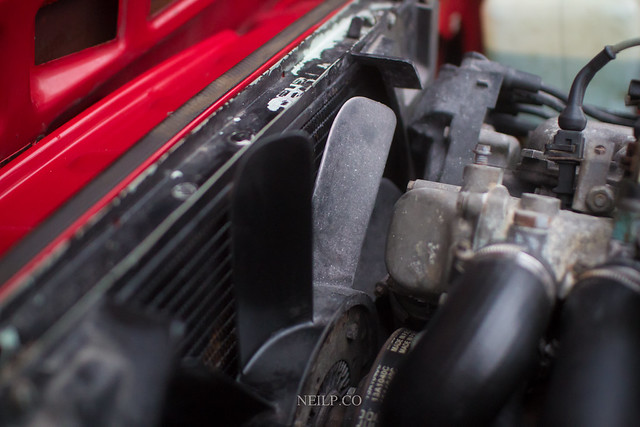
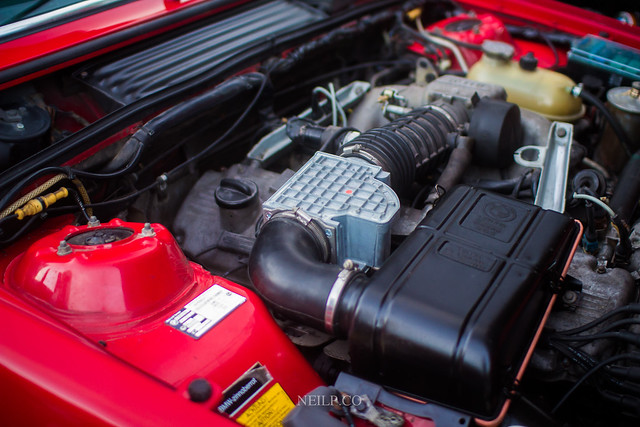
Started with the engine bay. Initially using liberal amounts of all purpose cleaner (APC) and a variety of different brushes, I soon realised this was going to take a lot longer than I expected!
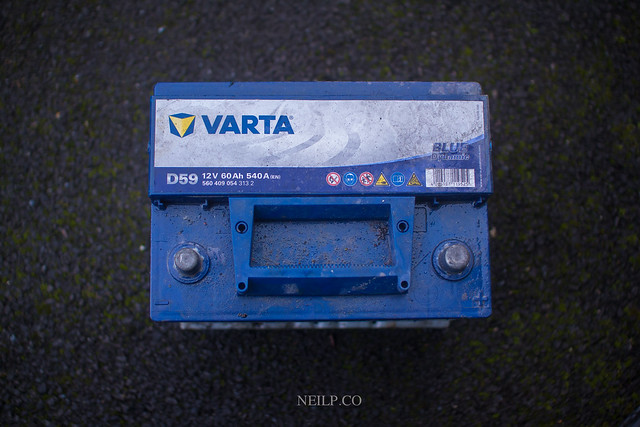
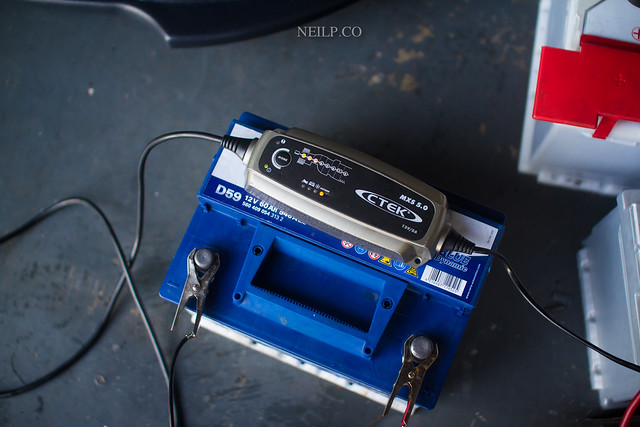
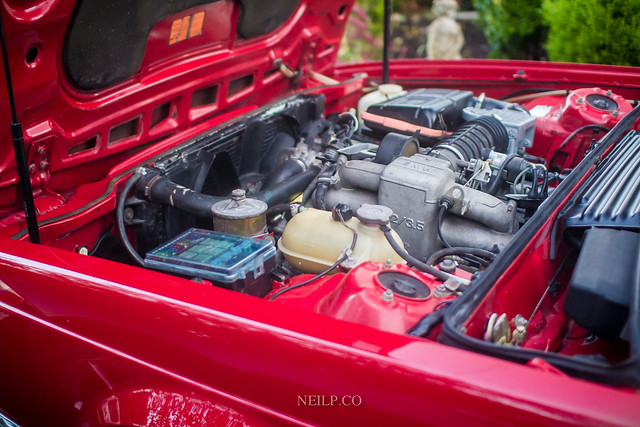
Next, the battery was tackled. Owing to where the car was kept, it was pretty grubby. Took the battery out for starters and got a multimeter on it. 12.0v was the resting voltage so not exactly healthy.
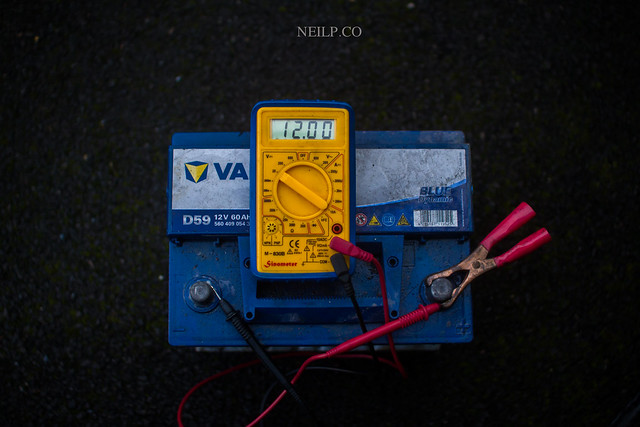
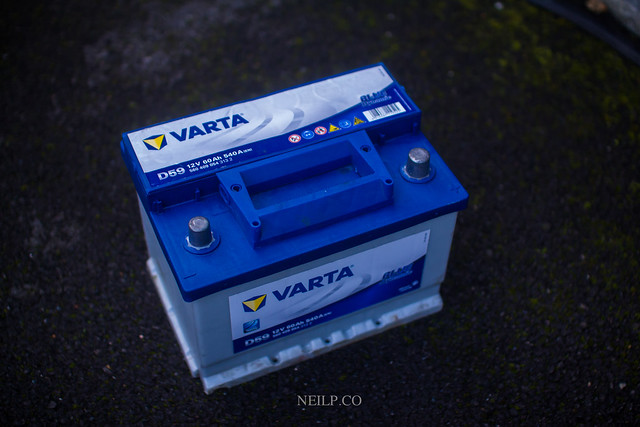
Next came a charger, my trusty Ctek reconditioned the battery and managed to have it floating around 12.7v at the end of the week that the car was with me.
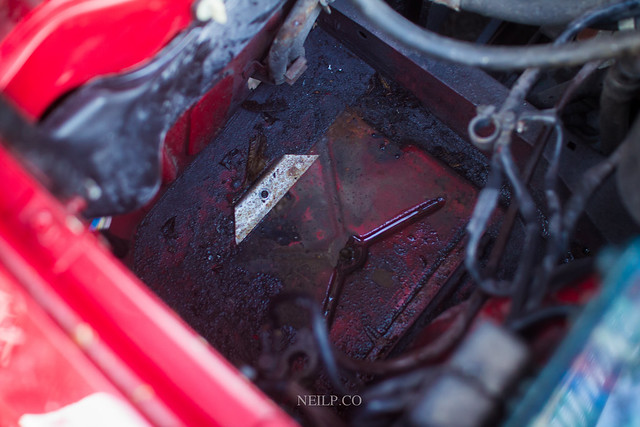
The removal of the battery revealed a pretty grimey tray. As with the rest of the car, APC some brushes and a good dose of elbow grease had it sorted.
Rear light covers were washed, dried and protected. As with the rest of the car, all the parts were in good condition, they were just dirty.
The fins for the fan were also cleaned and given some sealant to restore colour to them.
With my sights now set on the interior of the car the carpet was brushed through prior to being hit with a vacuum cleaner. The mandatory stripes were also left as a finishing touch.
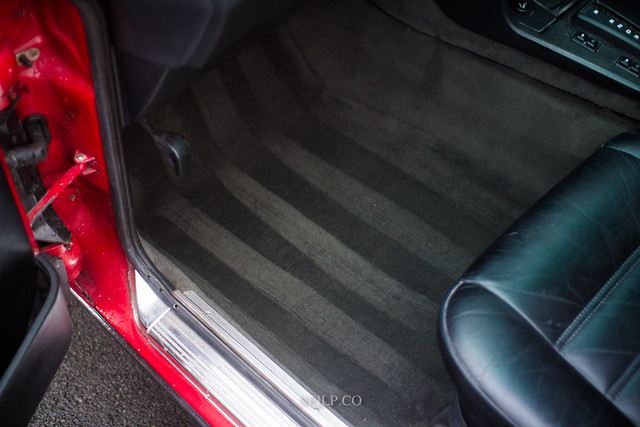
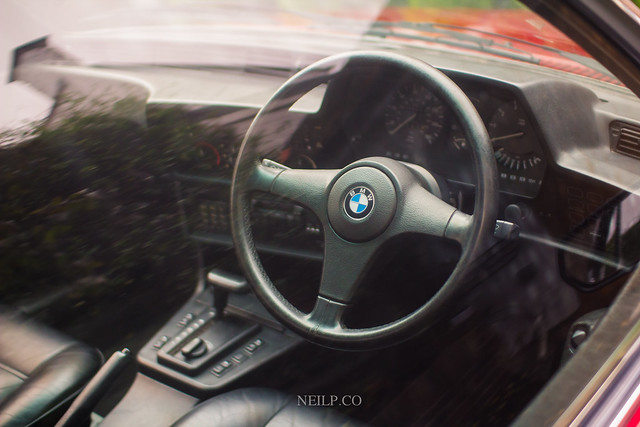
The rest of the interior was also given a clean, as well as the seats being given some leather conditioner. Considering the age of the car, it was a very well looked after car!
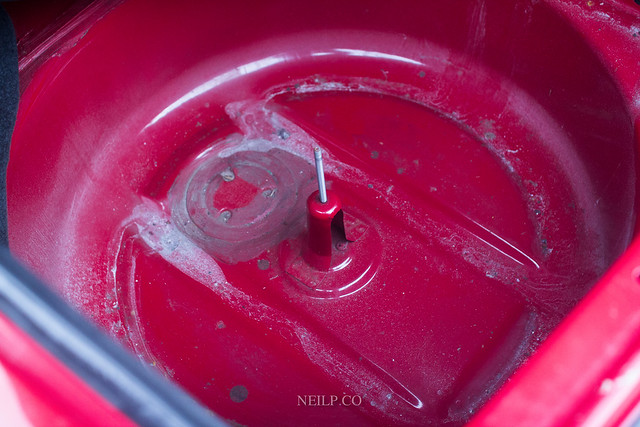
Moved my interests onto the boot area. Again the boot carpet was cleaned, but then removed to reveal a dirty spare wheel holder and spare wheel.
Everything was removed and the spare wheel well was given some attention first.
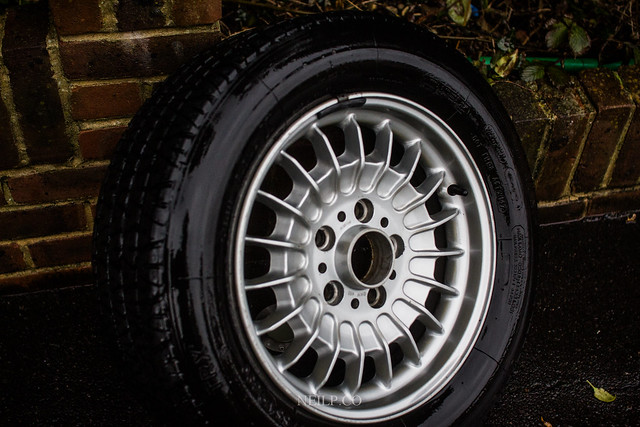
Next came the spare wheel, the tyre had seen better days but the wheel wasn't in bad condition. Some wheel brightener agitated followed by Iron-X had it looking more presentable.

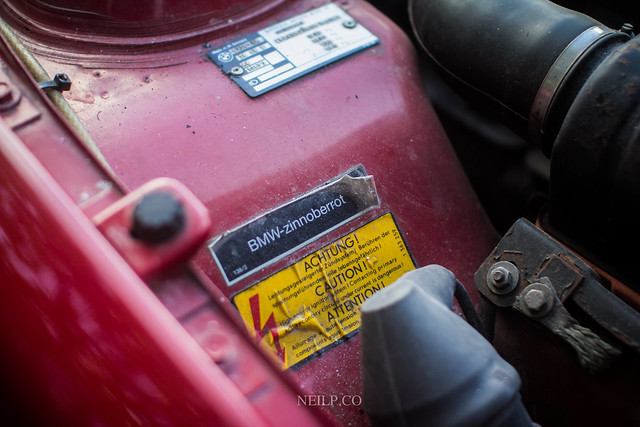
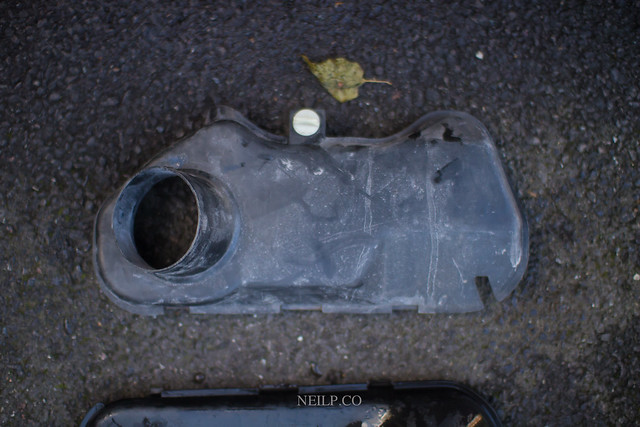
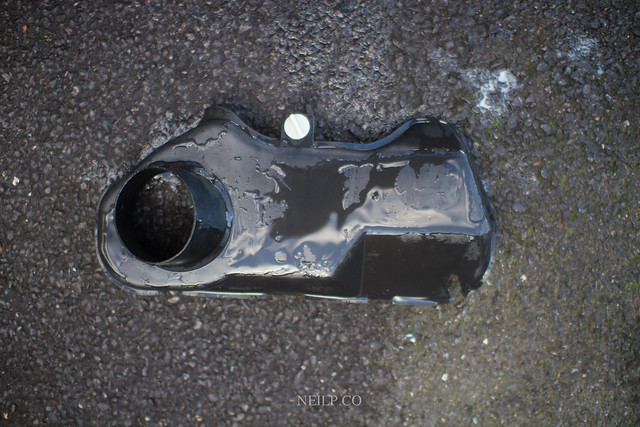
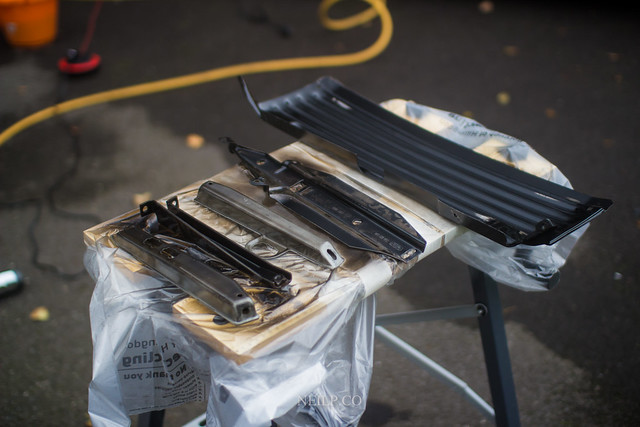
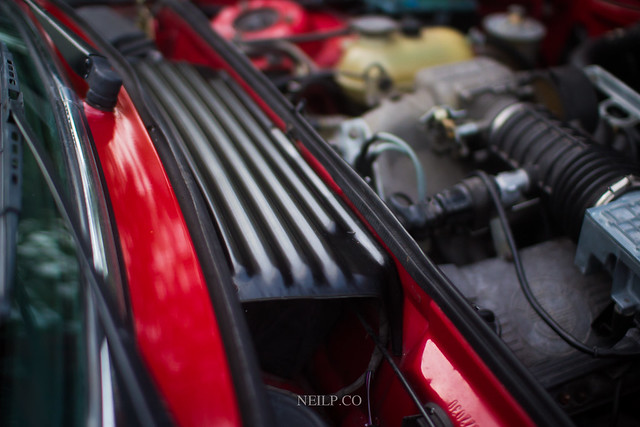
So with the engine bay and boot area looking swell, it was time to tidy up the bay a little. The few metal bits which has some signs of surface rust which were sanded back and given a new lease of life with some paint. It felt like a true Mighty Car Mods scene with the black paint. MAAAAAAD.
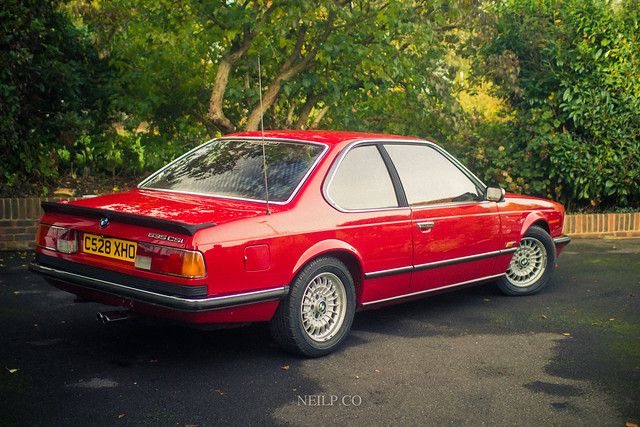
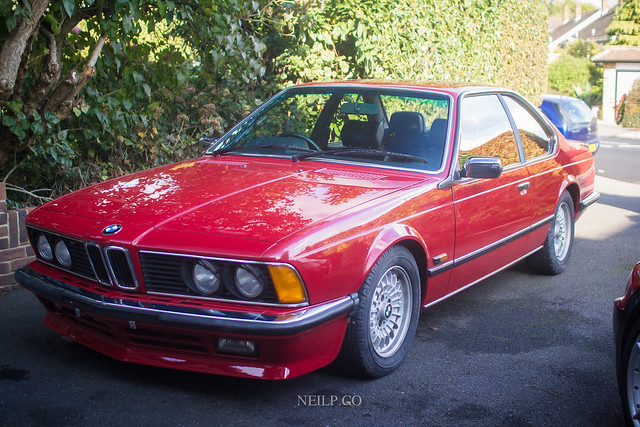
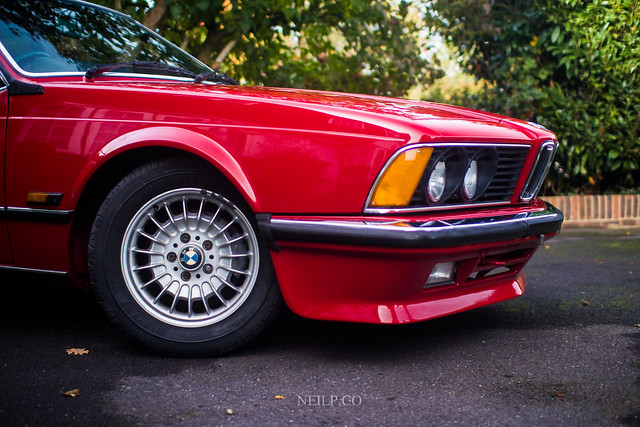
My attention was then turned to the exterior of the car. It was already lovely to look at, but to really make the paint pop, it was given a wash with degreaser and fairy liquid to remove any traces of wax. The wheels weren't touched as they were off to be refurbished along with new centre caps.
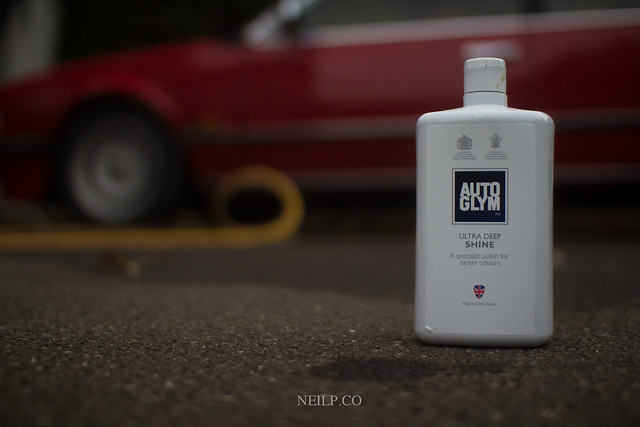
The car saw two passes of AutoGlym Ultra Deep Shine followed by two passes with Meguiars #16 to leave a lovely deep finish.
The front screen was wiped with rain-x as well as the headlights. (Which also had a self cleaning system featuring wipers! Mental on a car of this age!)
Following this, the rest of the parts were all refitted as well as the harness in the engine bay being re-taped.
This car was with me for a week in all, took a lot longer than I'd have liked owing to the rain, but the end result made it all worth it!
There are also plenty of other pictures which were taken of the car, please feel free to check them out here.
With a bit of luck, the next update should document the final bits which I need to do to the new Z4. Check back for that update soon!